I've finally gotten around to installing a ham radio in my daily driver (a 1999 Toyota Corolla).
I opted to go with a Yaesu FTM-350 for several reasons. First of all, it has built in APRS. I think this will be useful for road trips. Second of all, the head is detached from the base. My car is fairly small so I figured this would give me more flexibility for installation.
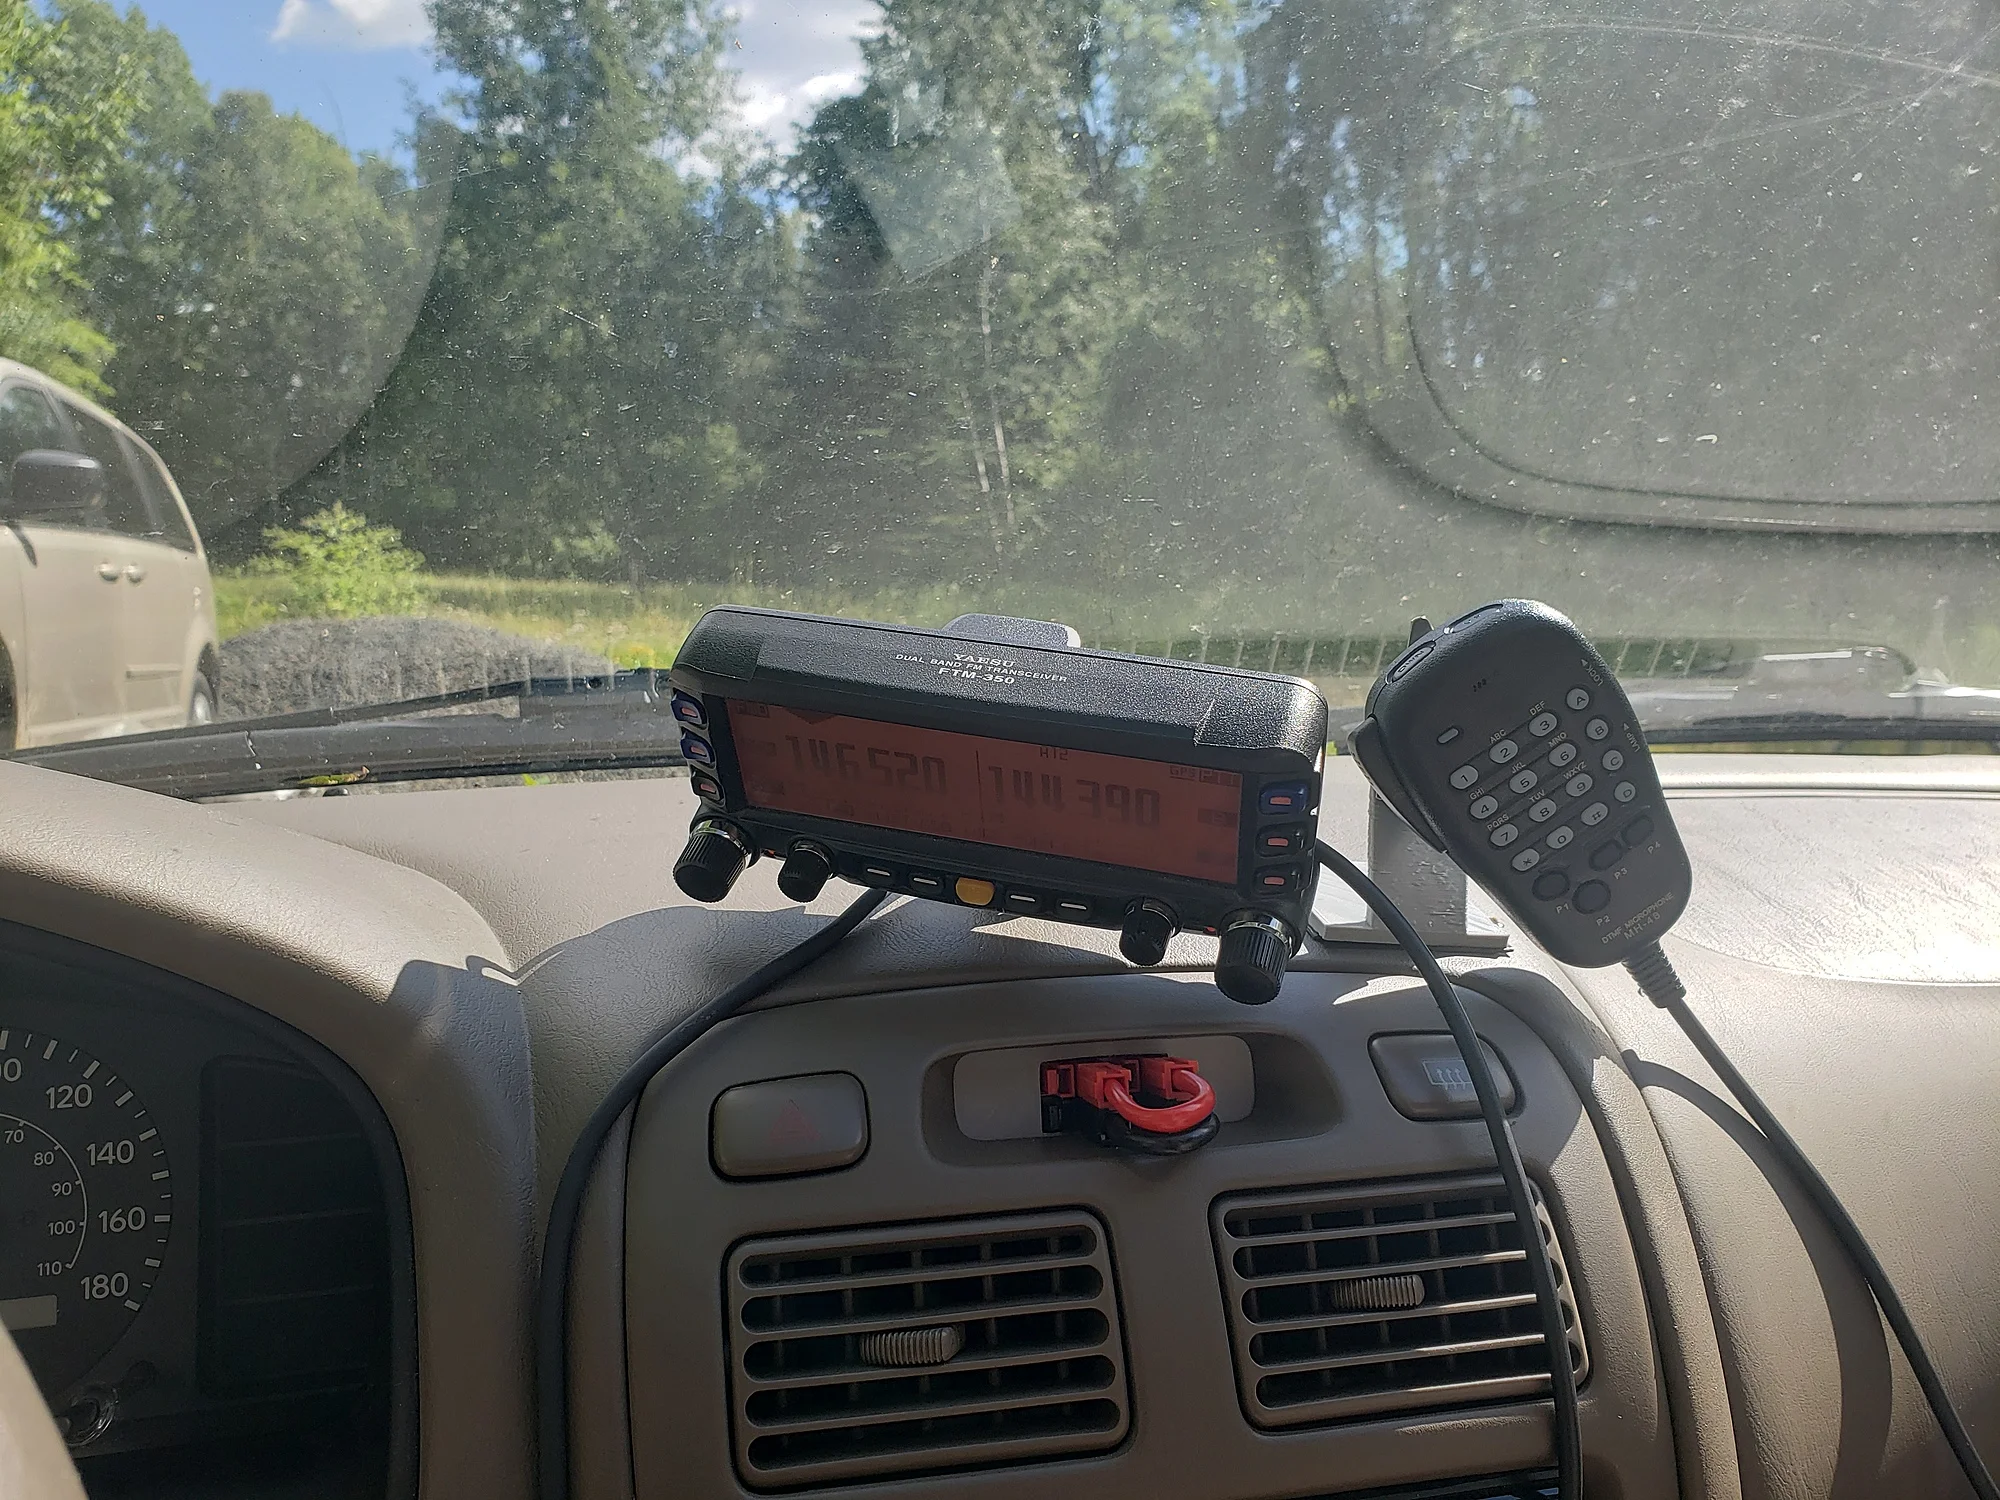
Here's the head unit mounted on my dash. Even though I printed the mount in PETG, it melted in the hot sun, which is why the screen is facing down. I have since mounted the head directly to my dash using double-sided tape.
Below the head unit is an array of powerpole connectors. The first two go to the battery. The third is disconnected. The fourth goes to the ham radio. Bridging the two connections allows the radio to be powered from the battery, while still giving me flexibility if I want to use an alternative power source. I can also power other accessories using the spare connector on the left.

The base unit is mounted to the trunk. There were already nuts welded to the top of the trunk (they appear to be from the factory). I mounted a piece of wood using some M8 bolts and I mounted the radio to the wood. It's rock solid!
I ran wires from the radio to the front of the car under various trim pieces. This required removing the back seat as well as many pieces of plastic. The two 10 gauge wires and control wire for the radio all run in a single loom.
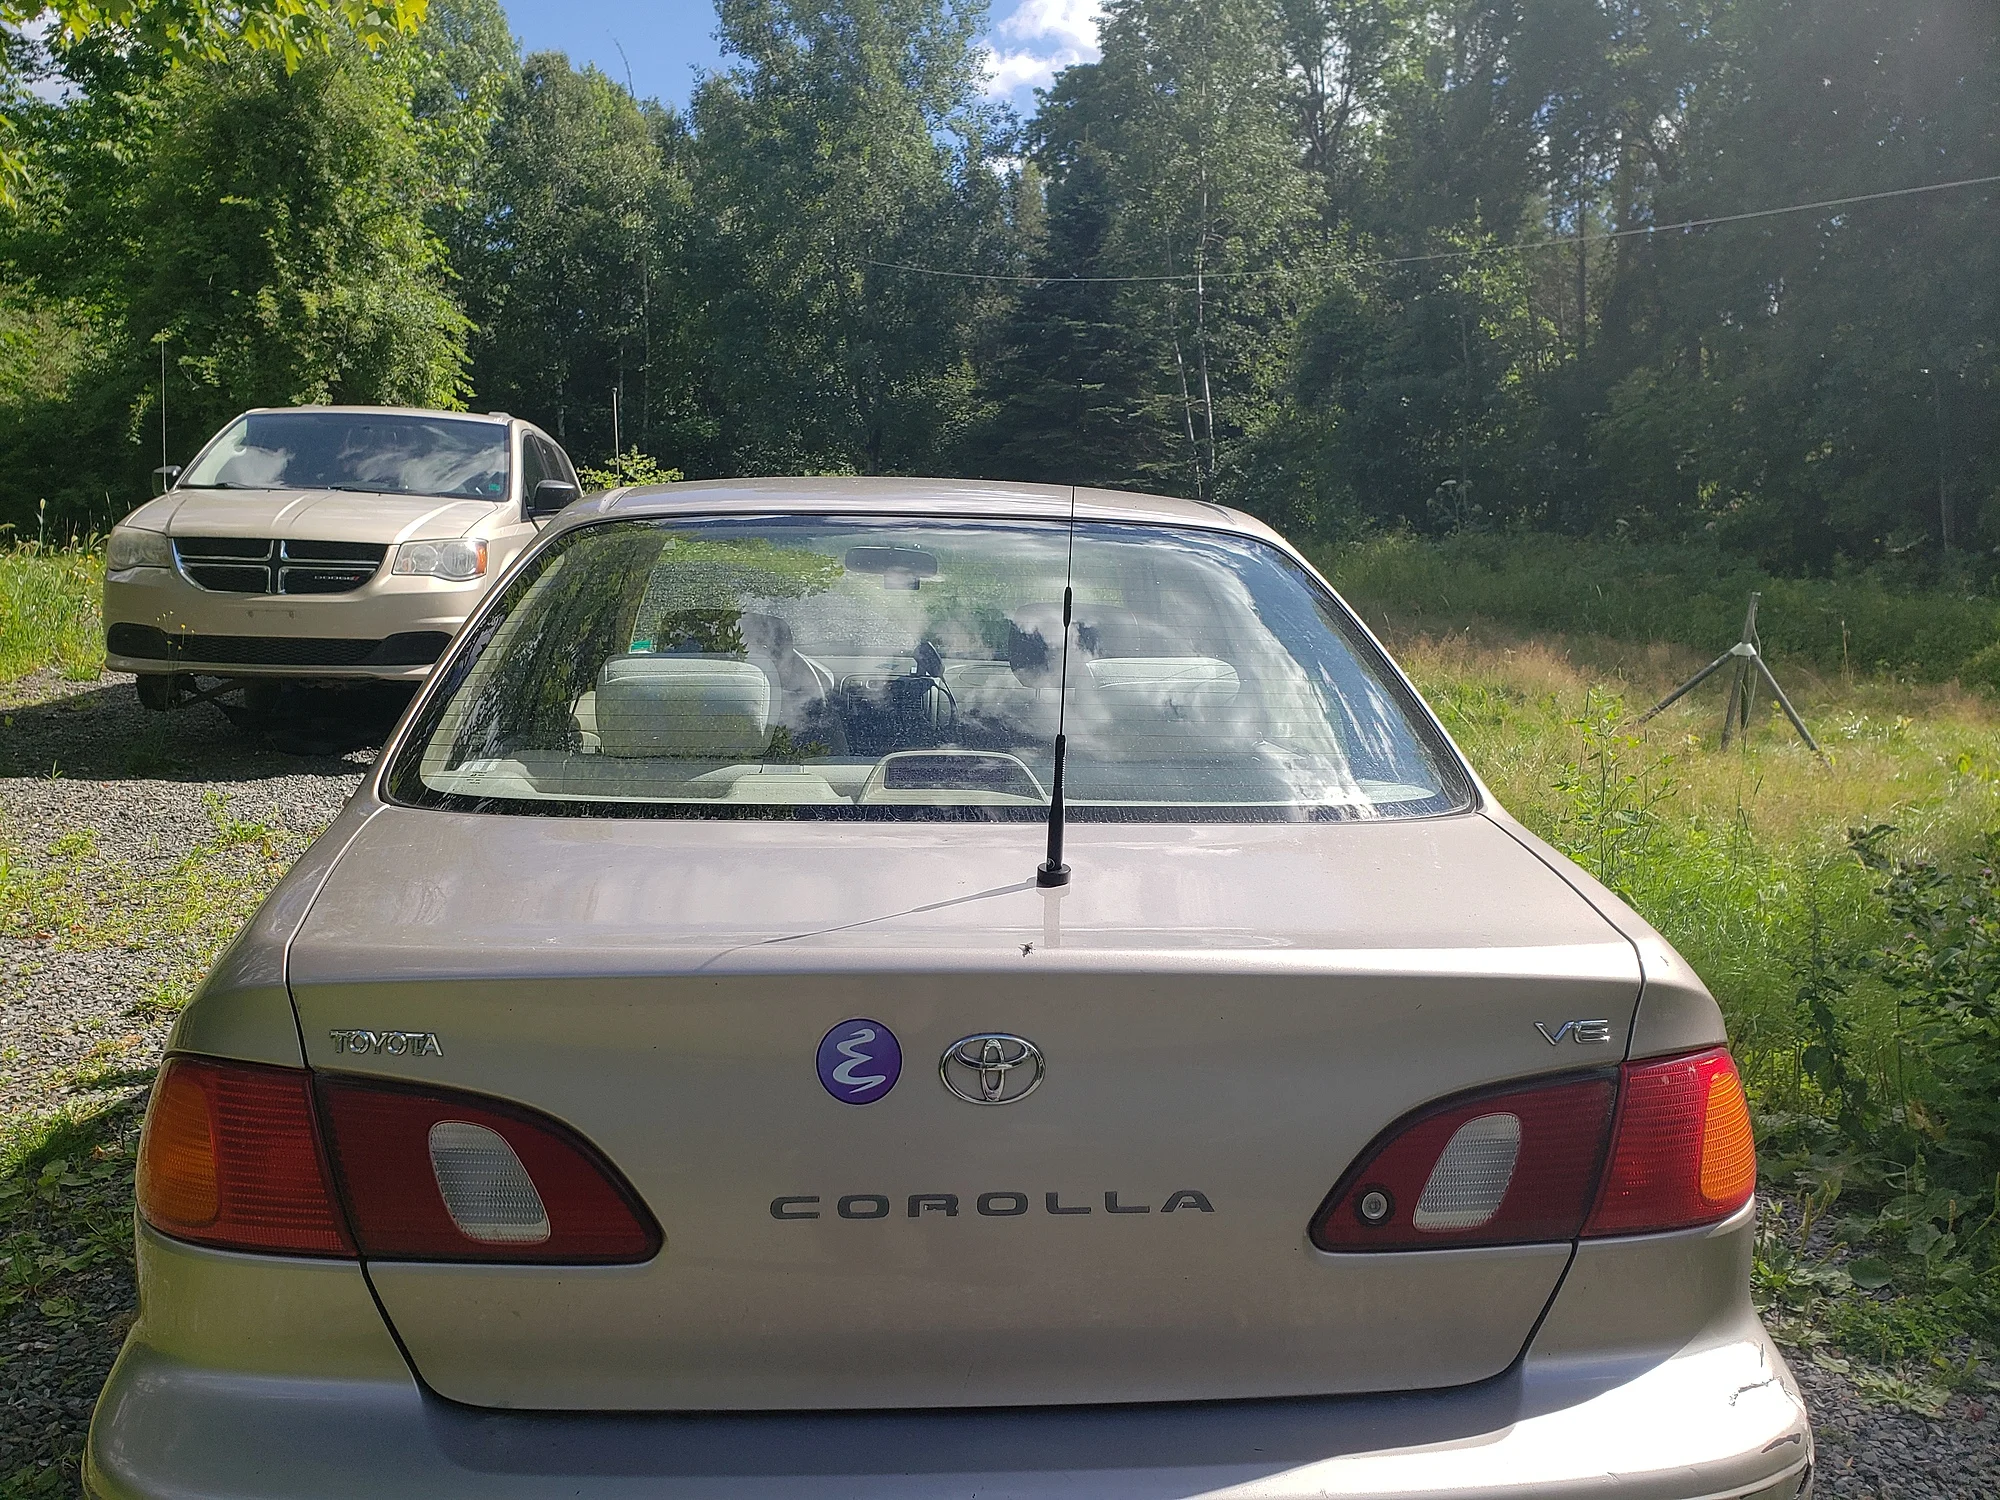
Initially, I was going to mount the antenna on the top center of the roof. After I started to drop the headliner I decided that was way too much work, so I put it on the trunk instead. It's off center - there's a piece of sheet metal in the way in the center of the trunk. It looks a bit ugly but I don't really care. Worst case, I can buy a new trunk from the junkyard and try again in the future.
I opted to go for a dual band antenna (quarter wave on 2m, 5/8 wave on 70cm). To be honest, I only picked this antenna because it was cheap. I figure it's an easy upgrade in the future if I want.
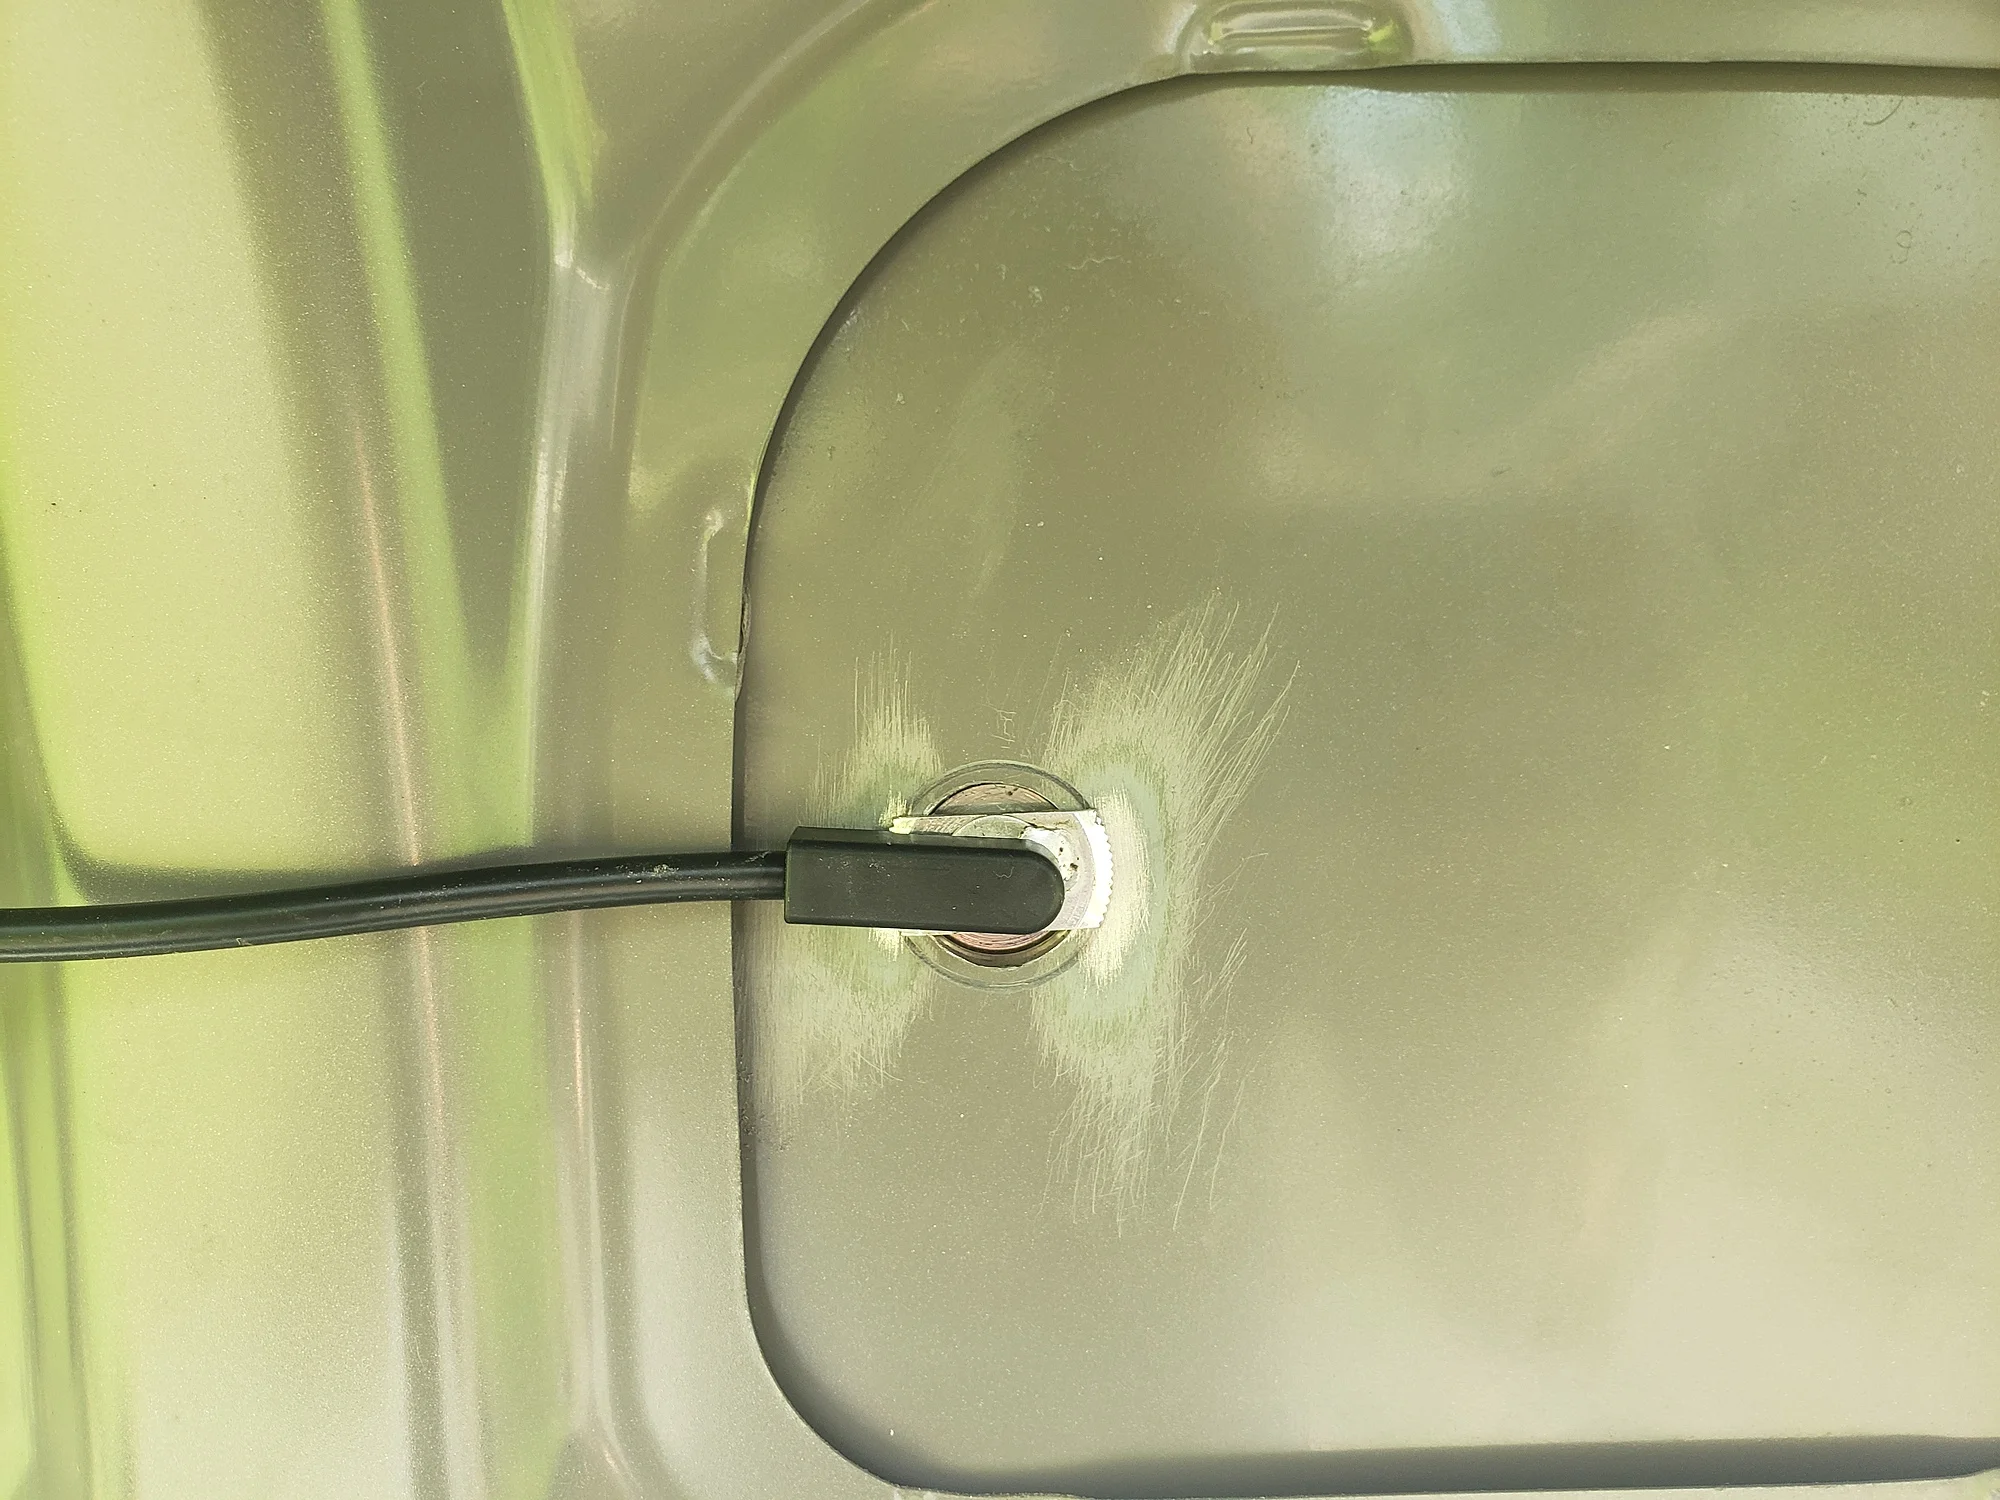
Here's the other side of the NMO mount for the antenna. I used 80 grit sandpaper to remove the paint, to ensure I had a good ground connection.
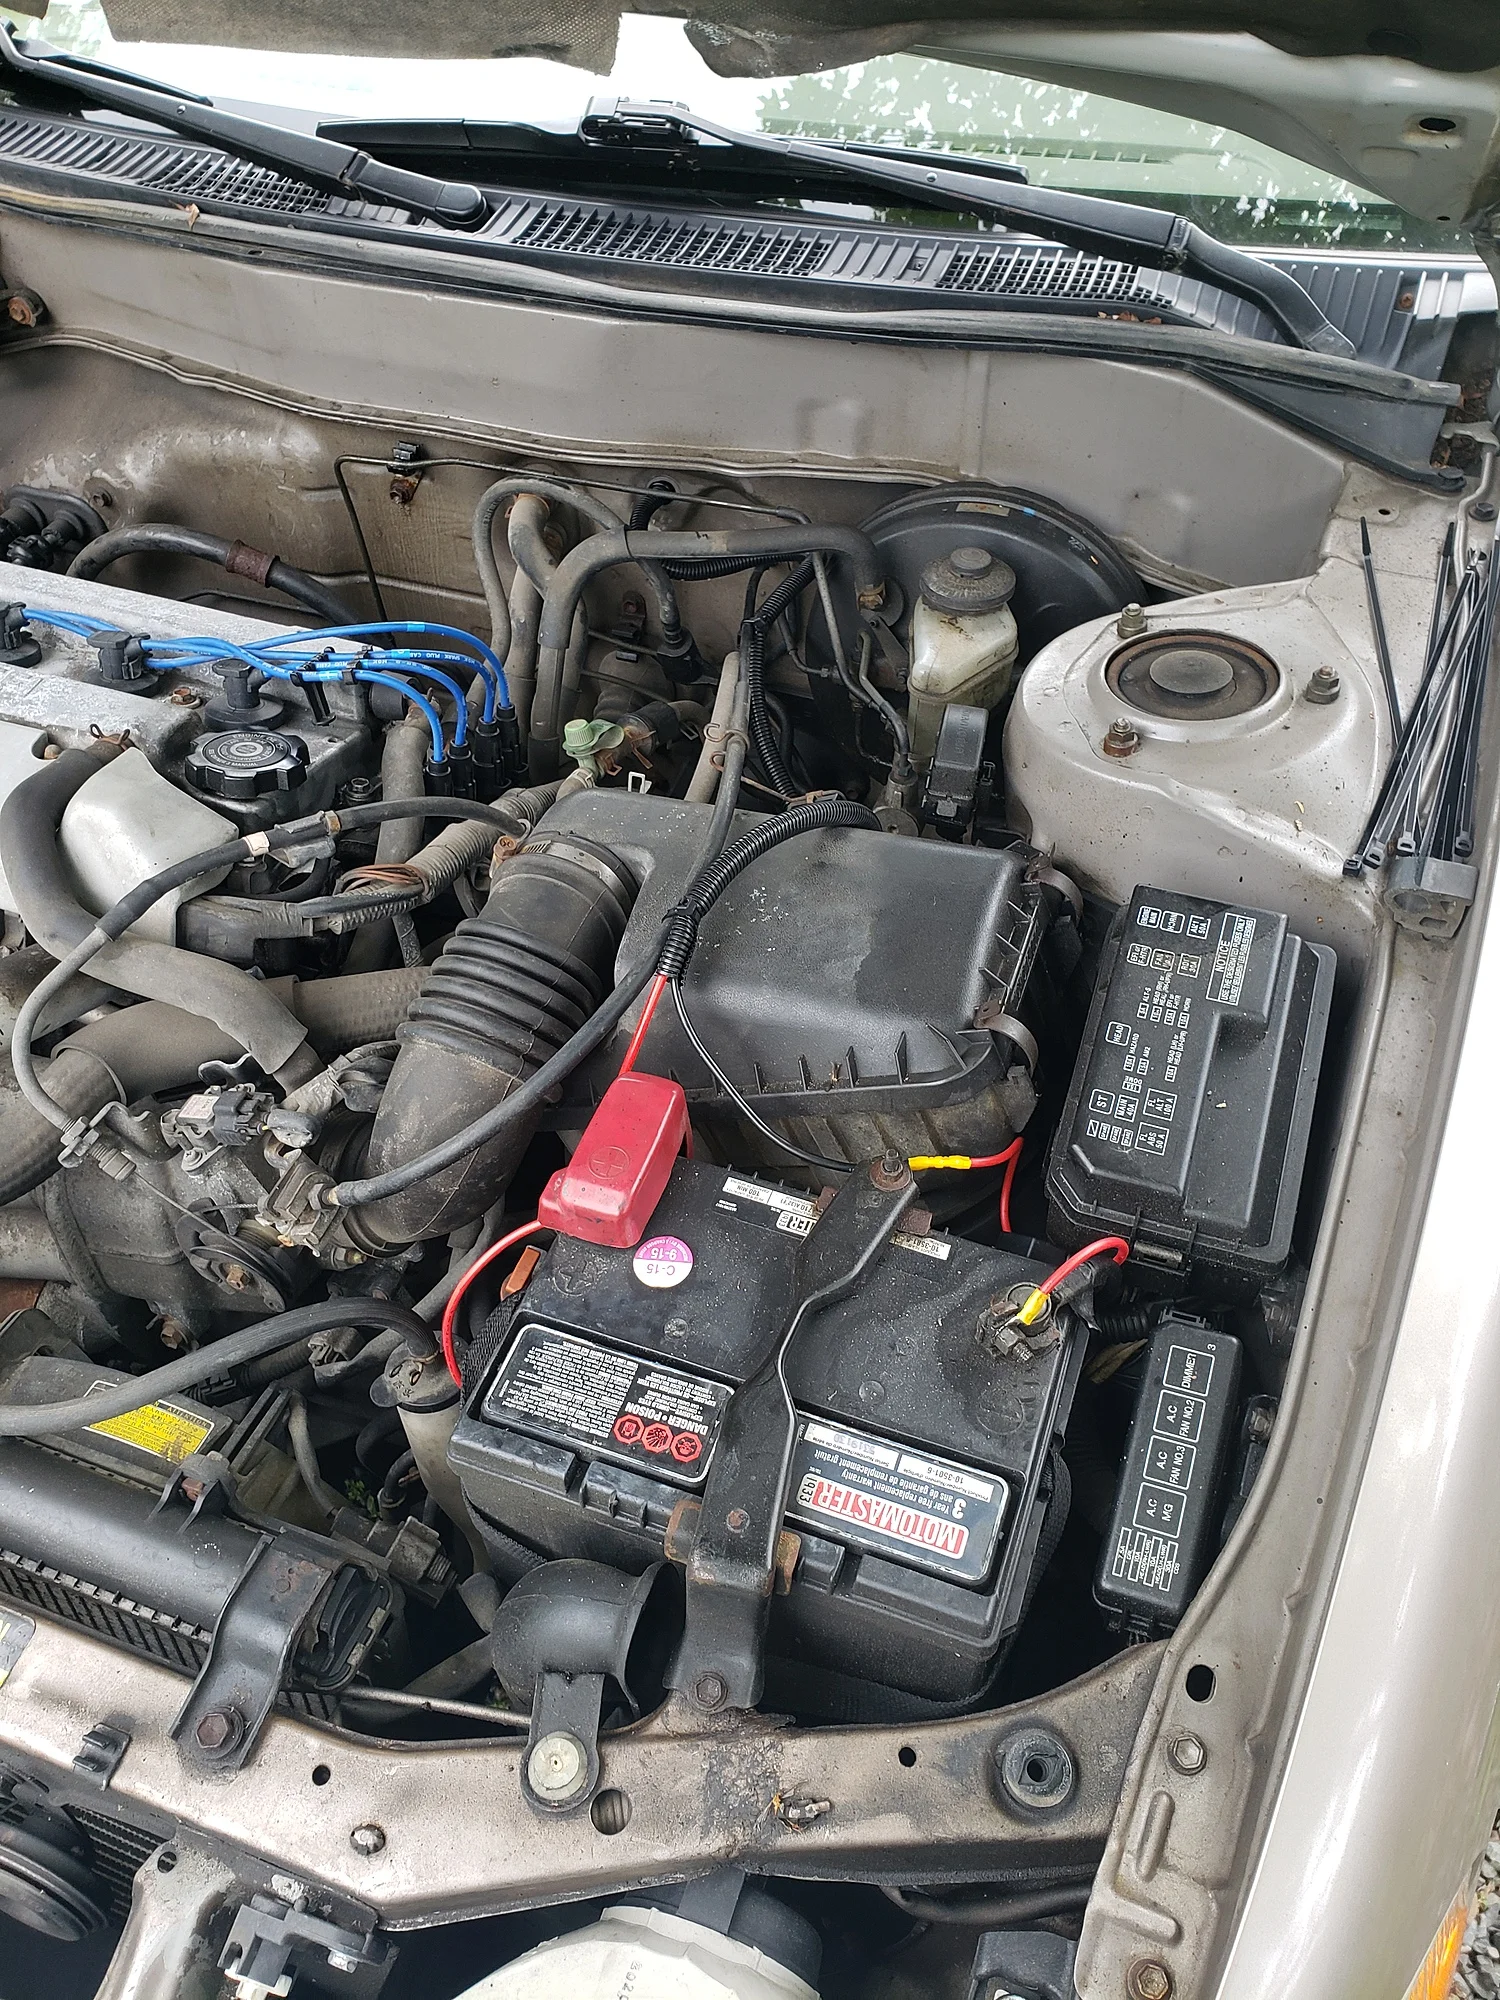
Finally, here's the connection at the battery. There was a spare hole in the firewall so I slapped a grommet in there and ran my loom through. Both wires are fused at 25 amps. One annoying thing is that the fuse holders have red wires so it looks like I have two positive connections at a glance.
For any fellow small car owners, hopefully this gives you some ideas for your own mobile install!